Failure to submit your Legal Business Information will result in limited functionality of Vyne Trellis® features. Important: This step must be completed before training or onboarding can begin. This information is typically found on an EIN (CP575) or 147c Tax Form.
What happens if I don't update my Legal Business Information?
If you fail to include the required information, text messages will be marked as spam and blocked from reaching patients.
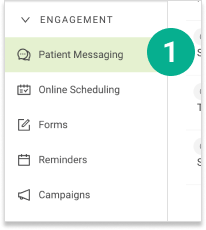
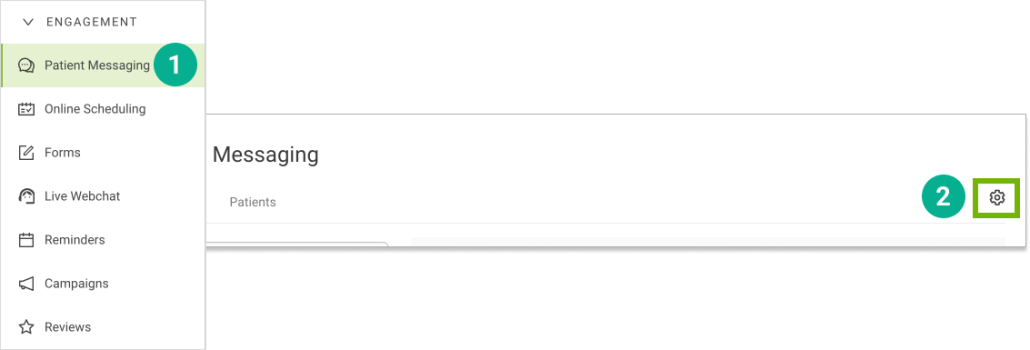
1. Open Vyne Trellis and expand the “Engagement” section. Select Patient Messaging.
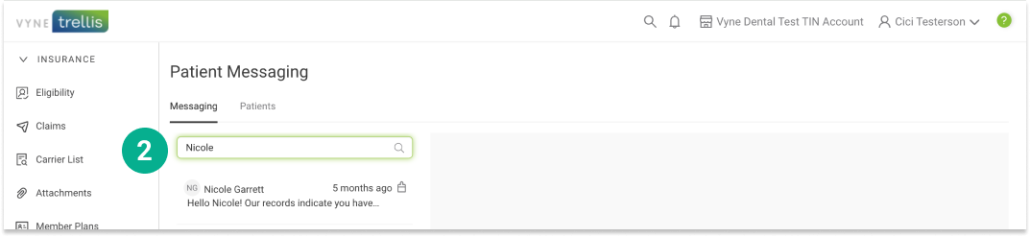
2. To start a message, enter the first or last name of the patient with whom you would like to message. A list of patients matching your entry should appear. Select the patient you would like to message. If you have previously messaged the selected patient, the chat history will appear.
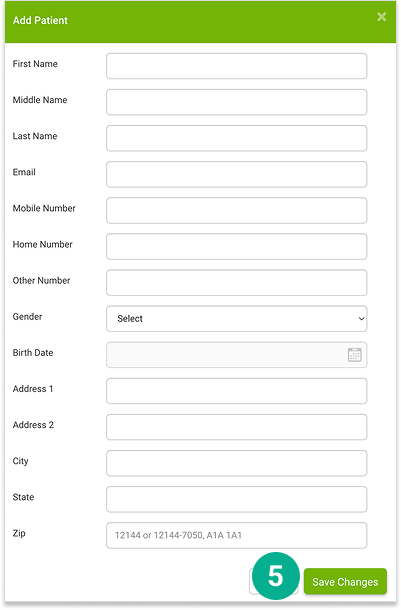
If a patient does not appear on your current list, you can easily add them:
3. Select the Patients tab 4. Select the “+ New Patient” button
5. Complete the patient’s information and select the “Save Changes” button. This patient will be added to your message list.
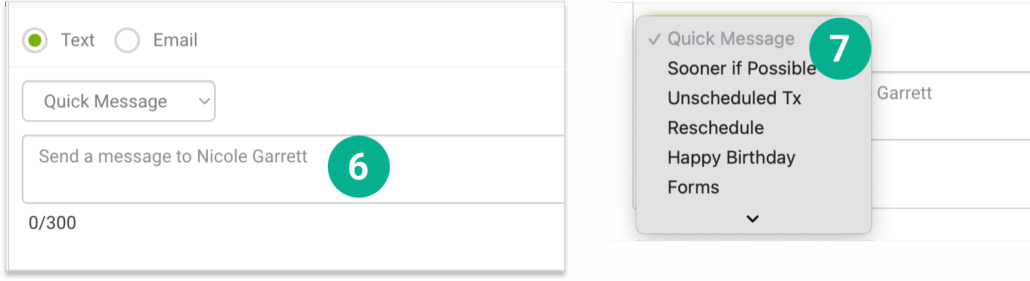
6. Enter the message you would like to send to the patient at the bottom of the screen, select to send by text or email, and click Send. 7. You can also select and send any custom, pre-written responses you have prepared. Click on the “Quick Messages” dropdown to select any message.
STEP 3
Add your own customized Quick Messages
1. Open Trellis and expand the Engagement Section. Click on Patient Messaging in the sidebar. 2. Select the Settings “gear” icon in the upper right.
3. On the right, select the New Quick Message button for either SMS or Email. 4. Once the New Quick Messages window opens enter a title, message (including any custom tags you want to include) and click save. This message will now be available when you are messaging your patients.