1. Download and install the version of PMS Dental Plugin found in the Vyne Trellis Dentrix Resource Center. Note: this update is required on all computers sending claims.
2. After your update is complete, you will be prompted to name your printer for processing claims. Note: the printer name cannot contain “Vyne” in any form.
IMPORTANT: Once you have completed your PMS Dental Plugin installation, we recommend you restart your workstation to allow these updates to take effect.
STEP 2
Start Sending Claims
1. To locate and send claims, Open the Office Manager in Dentrix by clicking on the Brown Chair Icon:
2. Click File 3. Click Printer Setup
4. Change the default report printer to the newly named printer and click OK to save your selection
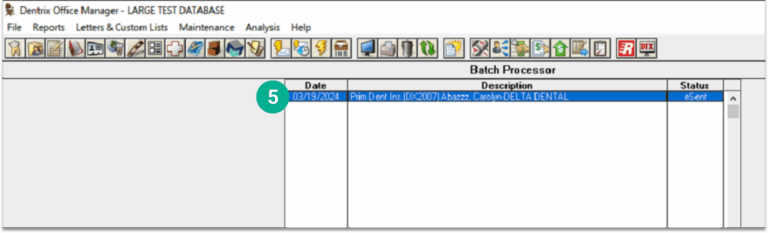
5. In the Office Manager, select one or more of the claims you want to send to Vyne Trellis.
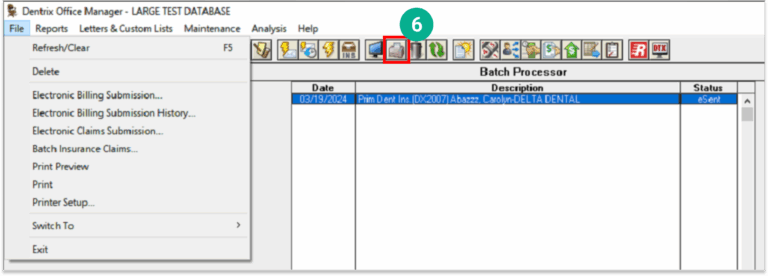
6. Click the Printer Icon (or select File > Print).
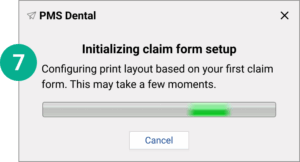
7. If your PMS requires further setup, Vyne Trellis will automatically configure the print layout based on your first claim submitted
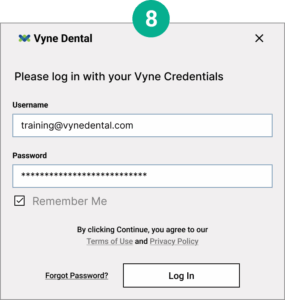
8. Once your claims have been sent, you will be prompted to log into Vyne Trellis
9. Once your credentials are entered successfully, Vyne Trellis will automatically launch your Claim Management page
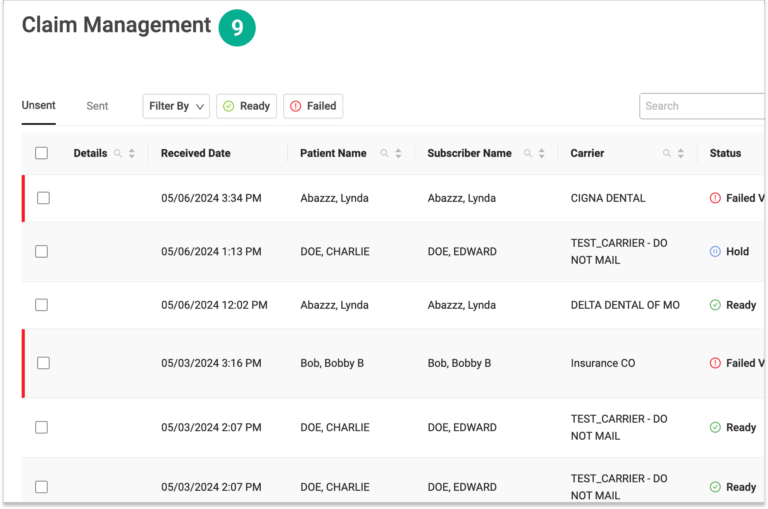
How do I track my claims after I send them to insurance?
You can track your claim status in Vyne Trellis.
After clicking Send or Send All to process your claims in Vyne Trellis, they will show up in the Sent tab of Vyne Trellis. Here you can track claims to see if they were accepted or rejected by insurance.