Give patients a trusted way to pay—right from your practice website. No logins. No downloads. Just a clean payment experience that builds trust and helps you collect faster.
Adding Bill Pay to Your Practice Website
Website Bill Pay – 3 mins
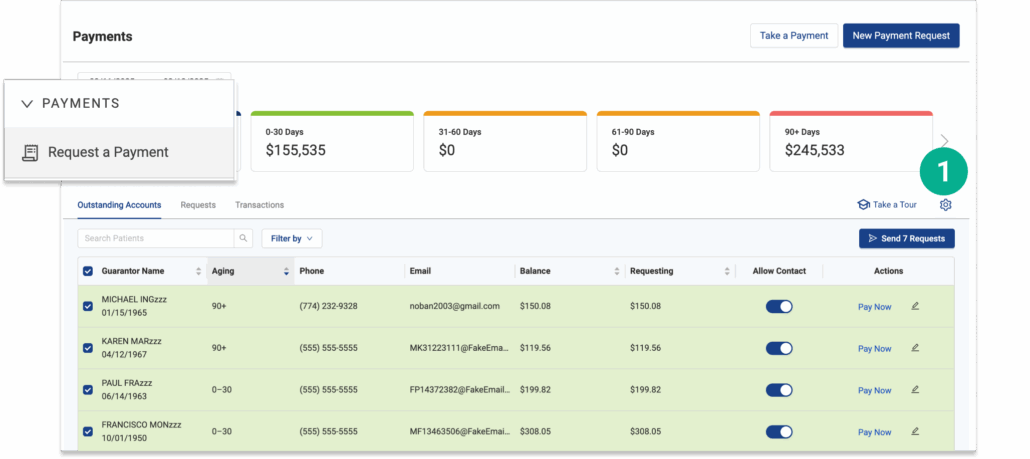
STEP 1
Open Vyne Trellis and click on "Request a Payment" in the left sidebar
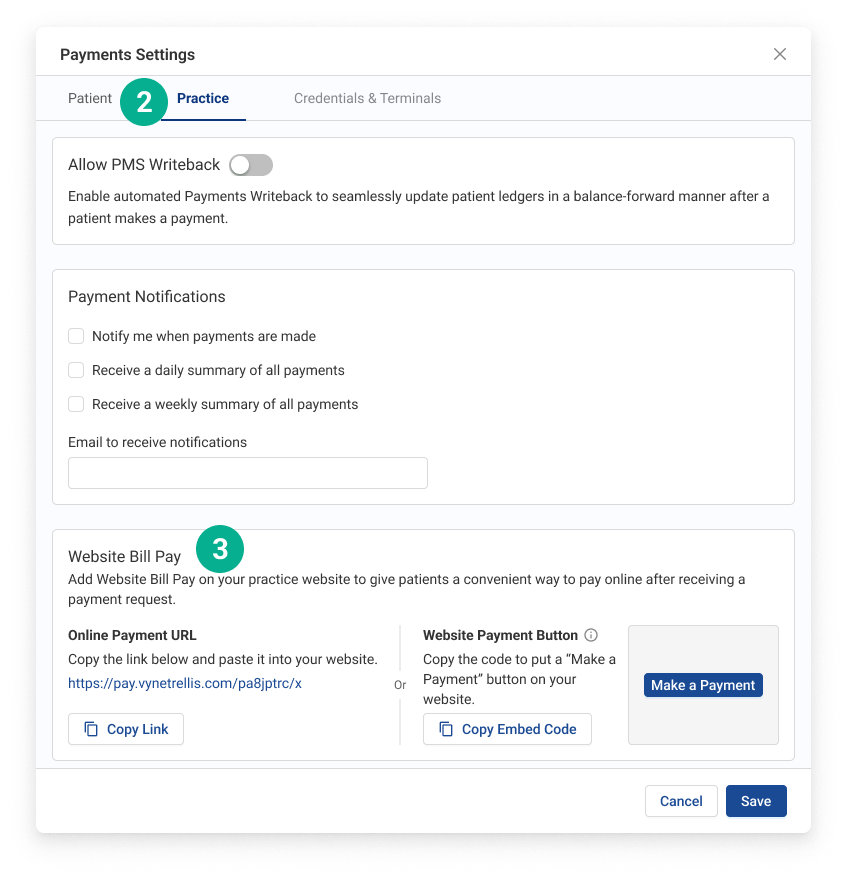
1. Select the settings icon
2. Click on the Practice tab. 3. Scroll to the Website Bill Pay feature.
STEP 2
Copy your link or website button to code
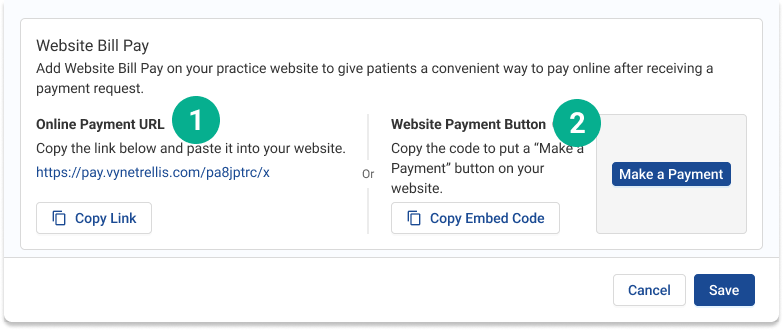
You’ll see two options:
Option 1: Use a payment link Click Copy Link and use it to create your own button or hyperlink.
Option 2: Use the button code Click Copy Embed Code and paste this into your website where you want the button to appear.
Tip:If a third party manages your website, just email them the link or code. It usually takes less than 5 minutes to add.
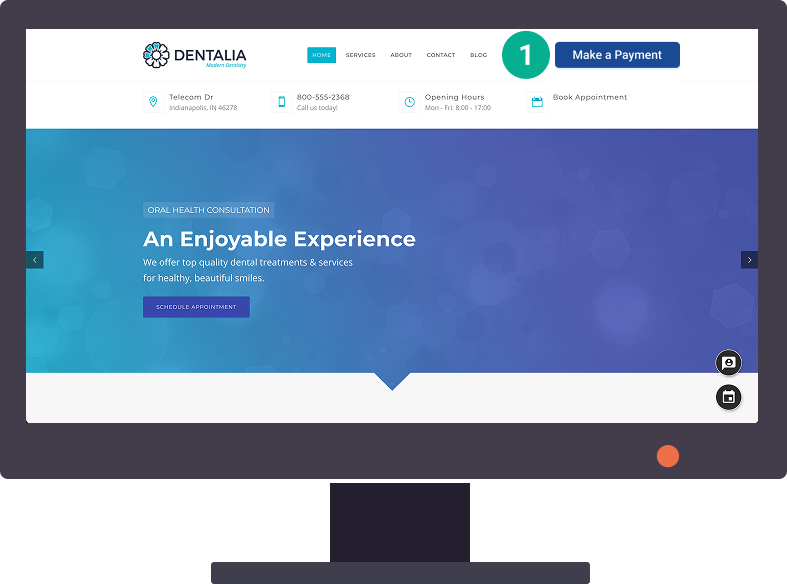
Understand the patient experience: what your patients see
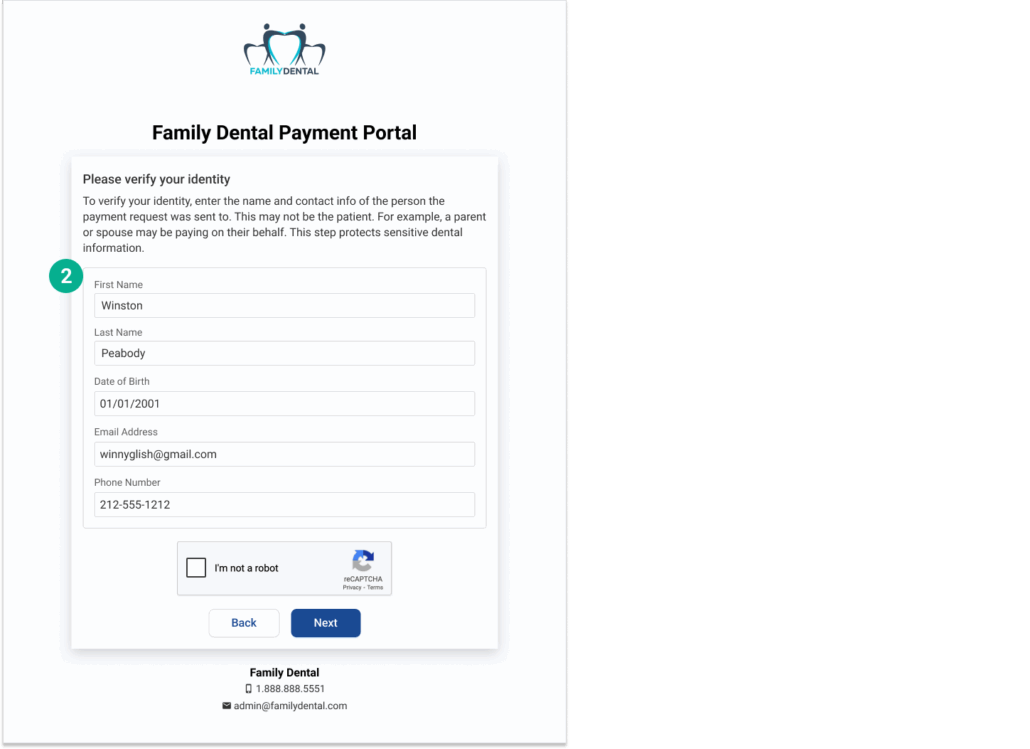
Patients click your “Make a Payment” button.
2. The Patient enters their name, email, and phone number.
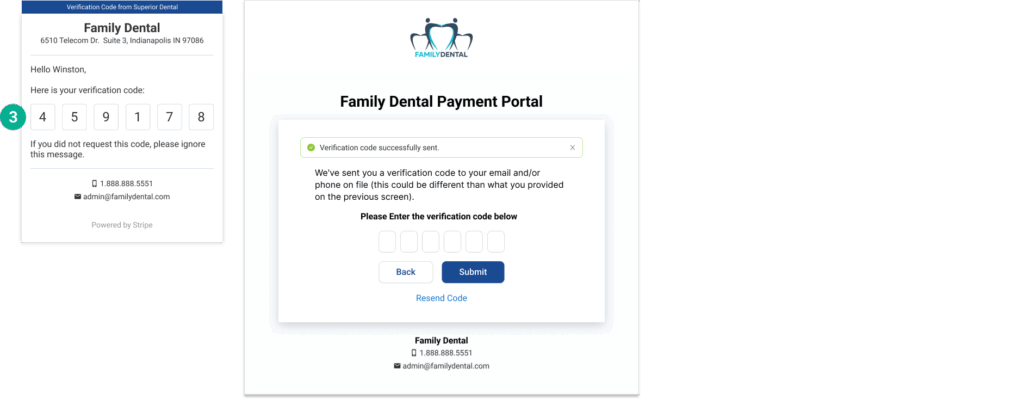
3. The Patient receives a one-time security code by text or email, used to validate their identity on their patient portal.
4. The Patient can now view their balance and details 5. Patients can pay by credit card or Affirm Patient Financing (if enabled)
STEP 3
Add Notes to Paper Billing Statements
Utilizing Paper Billing Statements? Add Notes to pay from your practice website. Patients’ propensity to pay increases with trust.
Add Bill Pay to your Statement ‘Notes’:
1. Log in to your practice management software. 2. Navigate to the billing statement settings or setup screen. This is often found under Reports, Billing, Statements, or Practice Setup. 3. Look for a field labeled “Statement Message,” “Note,” or “Dunning Message.” 4. Enter your desired message. Suggested message: “You can also pay through our website—look for the “Make a Payment” button.” 5. Save your changes. You may also have the option to set this as a default for all future statements.