Connect Vyne Sync to Your Practice Management System*
By connecting Vyne Sync, patient appointment data will automatically flow into Vyne Trellis for automated sending of forms and writing back patient details and PDF’s to your practice management system.
Note: Vyne Sync is required to be installed on your practice server.
*If you have not already connected Vyne Sync to your Practice Management System.
Easily add forms to your practice website, create new forms, and set up an in-office tablet experience. Use one of the default forms or a packet of forms, and enable automated forms to seamlessly send and write back patient data into your practice management system. Integrate your Topaz and ePad signature pads for a streamlined form signature experience.
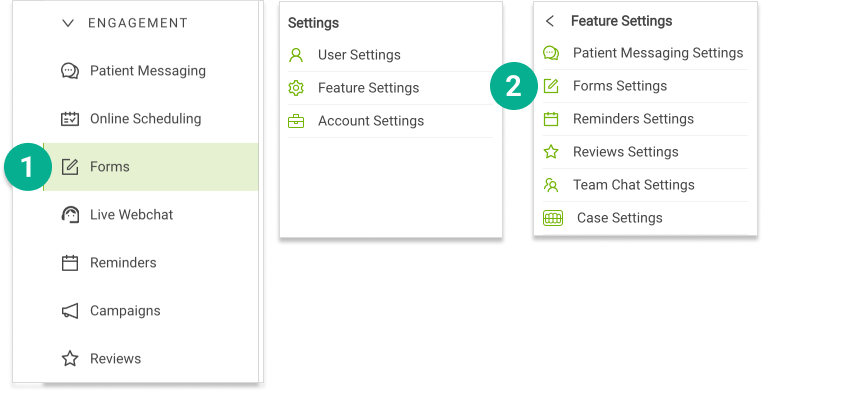
Forms Settings 1. Click on the Forms feature 2. Click on the Settings wheel in the sidebar | Feature Settings | Forms Settings
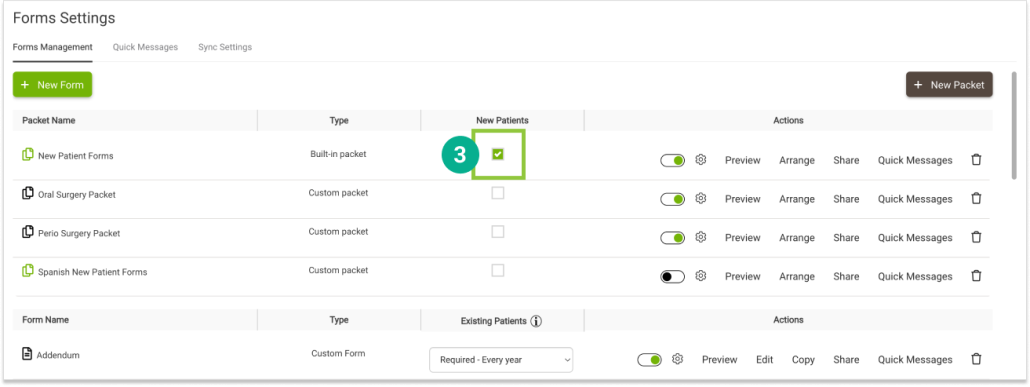
3. Automate your forms by selecting the checkbox to indicate your new patient packet(s). Packets are available for ‘New Patients’ and included in the new patient Welcome Letter in Reminders.
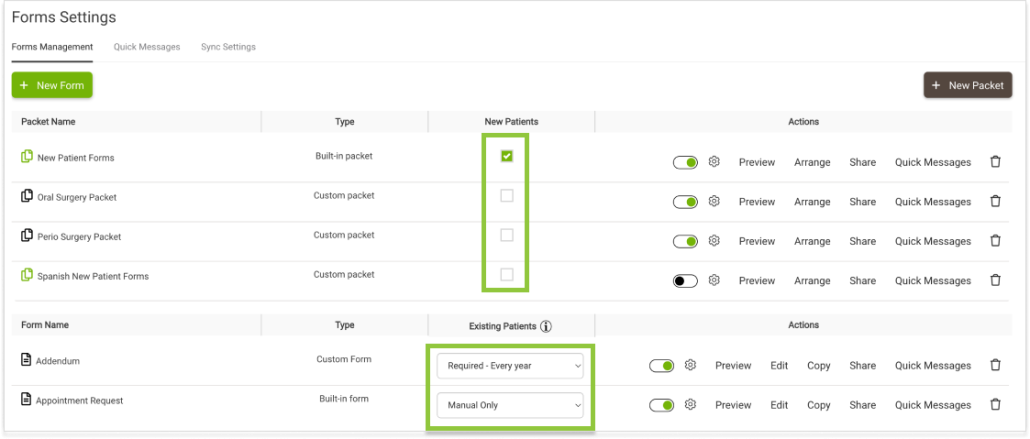
4. Click the drop down menu in the Existing Patients column. Individual forms are available for Existing Patients and included in the following message types.
Save-the-date
Appointment Reminders
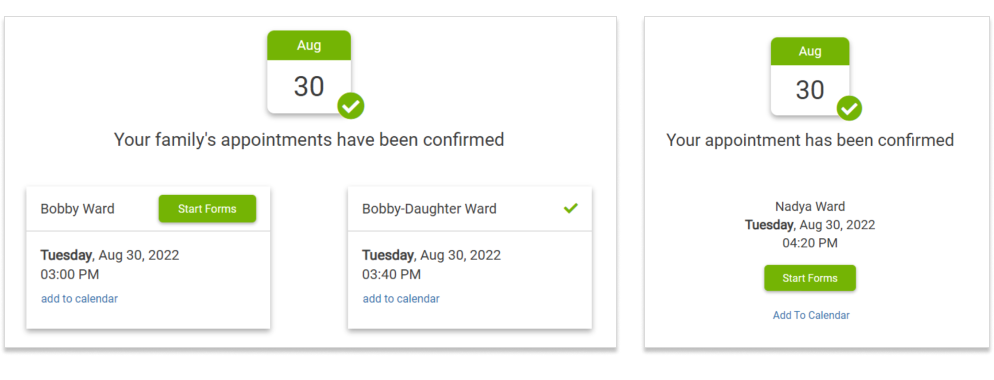
Appointment Confirmations
5. Select the availability rules for each Form. For offices with Reminders, these changes will save automatically, so no further action is required.
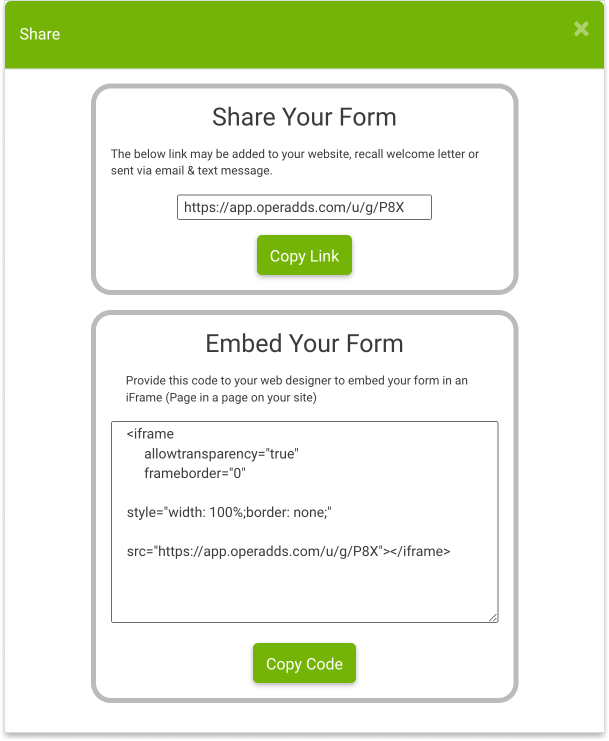
6. Add Forms to your website by sharing the link with your web designer, available by way of the Share option
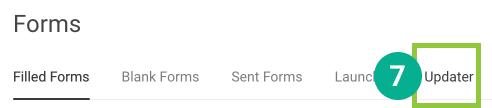
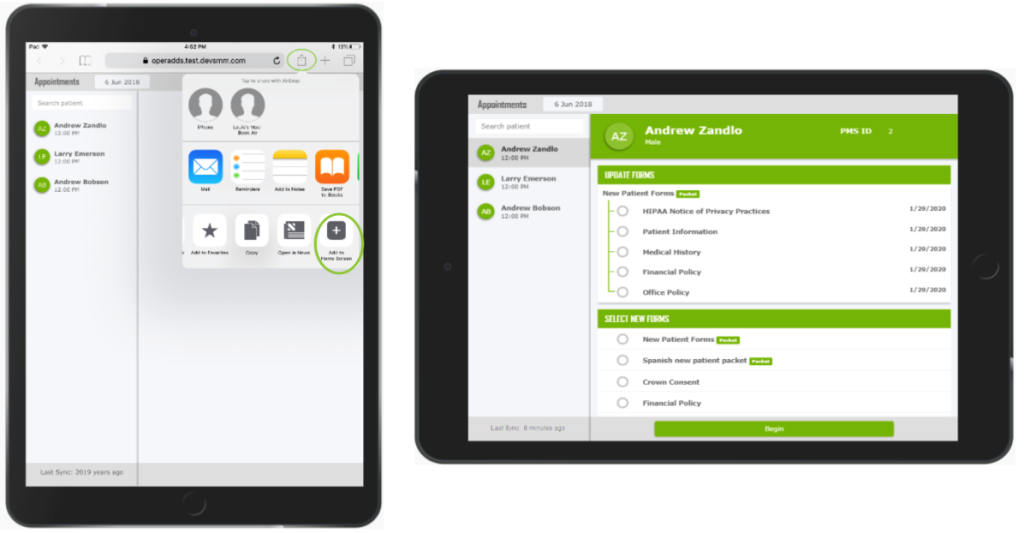
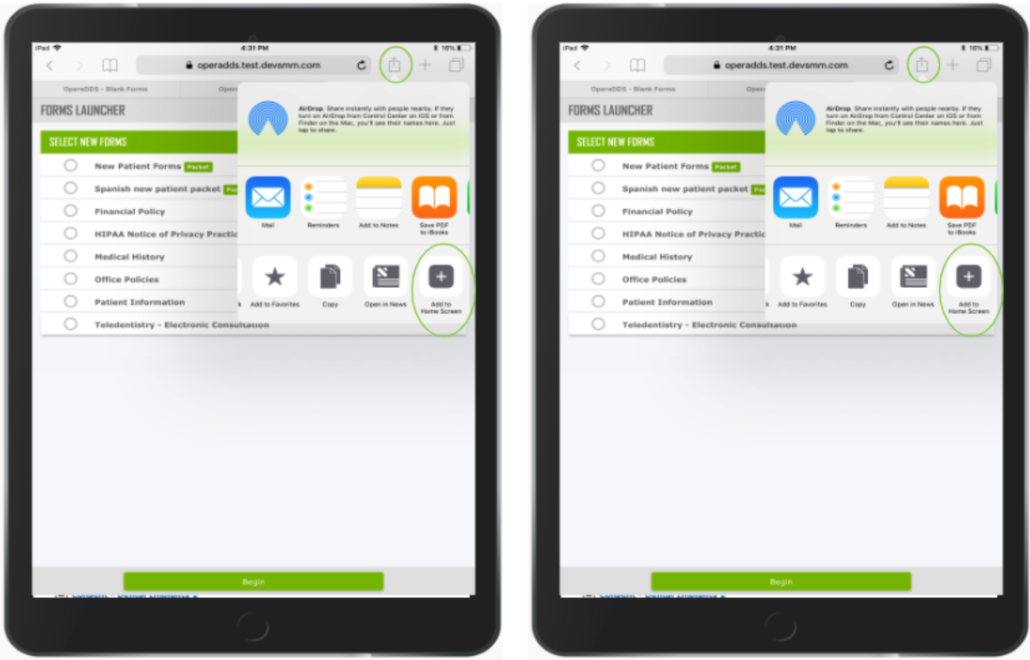
7. Add Forms to your your tablet
Login to Vyne Trellis on your tablet via Google Chrome
Click on the Forms feature
For reception, select the Updater
For clinical, select the Launcher
Use the upward arrow option to Add to Home Screen
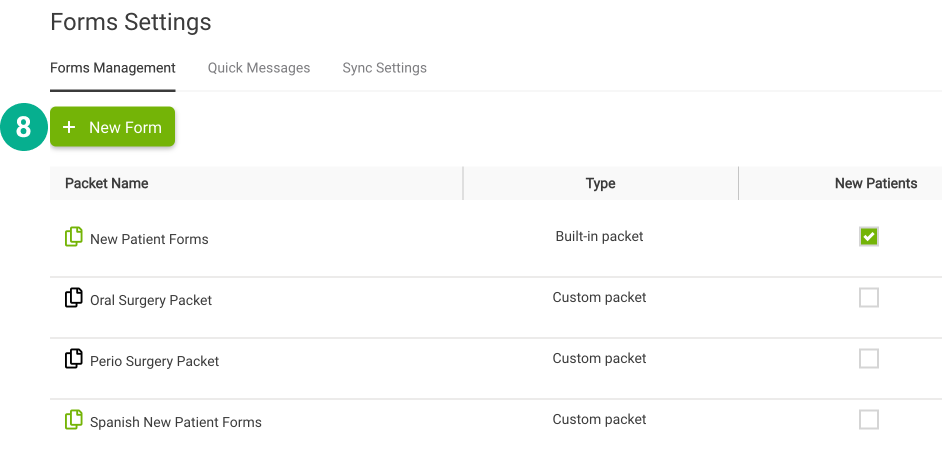
8. Create New Forms
Click on the Forms feature
b. Click on the Settings wheel in the sidebar | Feature Settings | Forms Settings
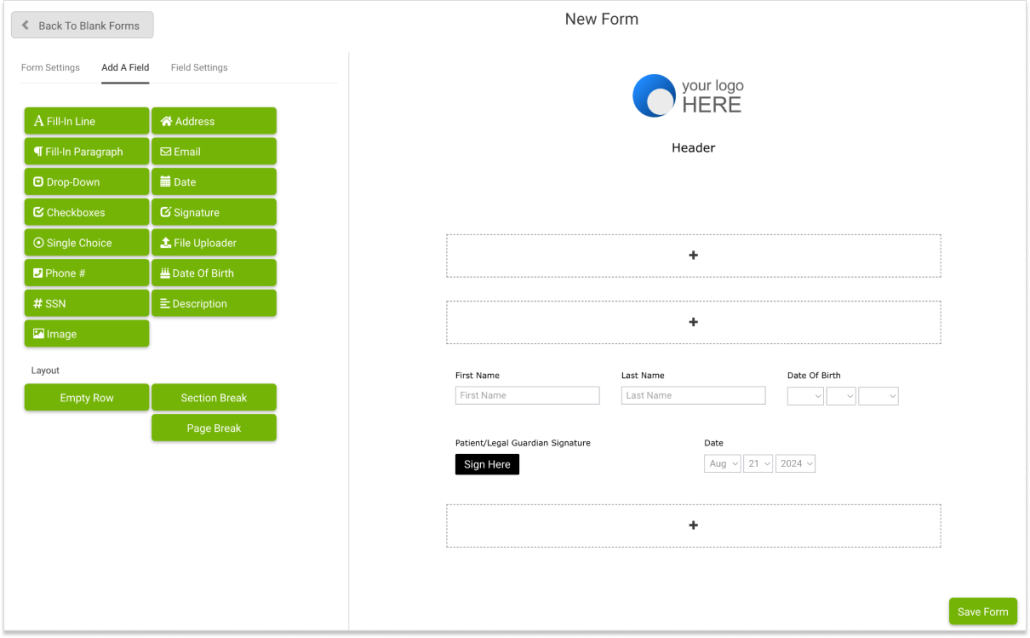
c. Select New Form
Use the Drag-and-Drop Custom Form Builder to create your very own custom Forms.
STEP 3
Learn More About Forms
Watch a 8-minute video to learn how to streamline your Forms process.
1. How to deliver received forms back to your practice management system
Automated – Upon activating Automated Forms:
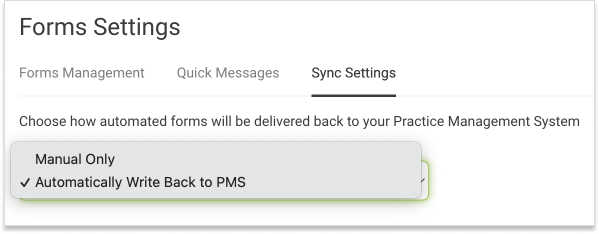
Sync Settings will appear in Forms Settings. This allows you to determine how Forms will be sent back to your Practice Management System. 1. Automatically Write Back to PMS (Default) – Auto delivers all forms and data to the patient’s chart without intervention. 2. Manual Only – Forms are delivered to your Filled Forms page & require sending manually back to your Practice Management System.
Manual – Upon receiving Forms: Allows you to manually send forms back to the patient chart in your practice management system
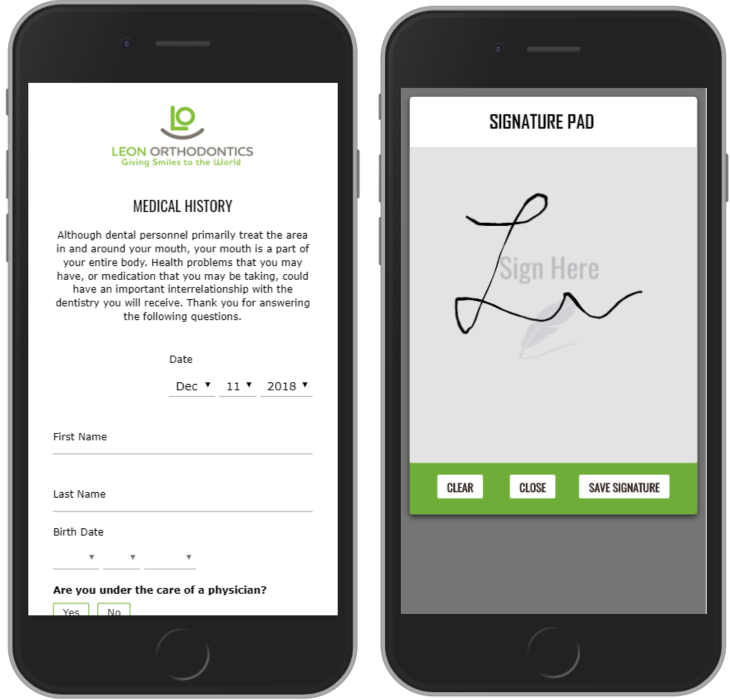
2. Signing Forms can be done via patient personal device, tablet, or computer.
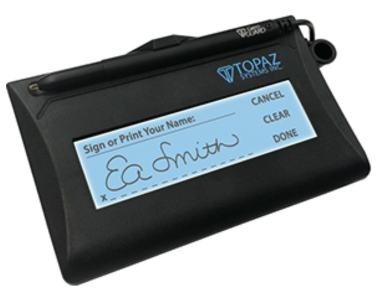
Topaz Signature device 1. Use the Topaz Signature pad instructions found here 2. Next, refer to the instructions here
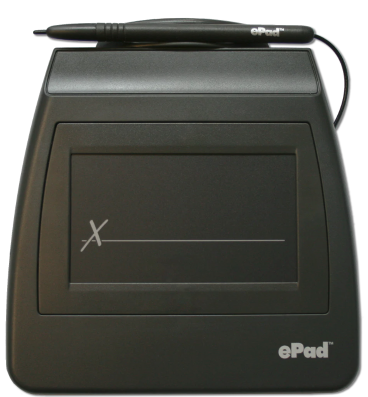
ePad Signature 1. Use the ePad Signature instructions found here 2. Next, refer to the instructions here