Configure your Electronic Statements eService Account
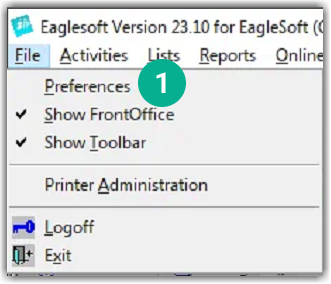
1. Click File & Preferences
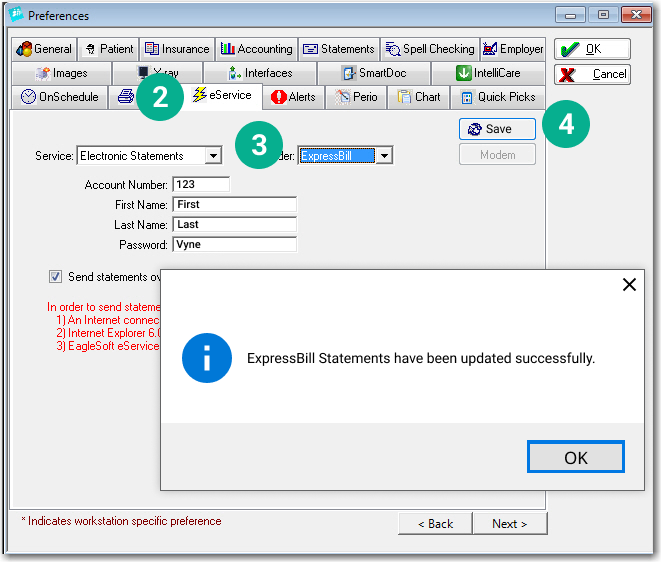
2. Select the eService Tab and choose Service: Electronic Statements from the Service Dropdown 3. Update the Password to ‘Vyne’ 4. Click Save
STEP 3
Send your Statements from Eaglesoft
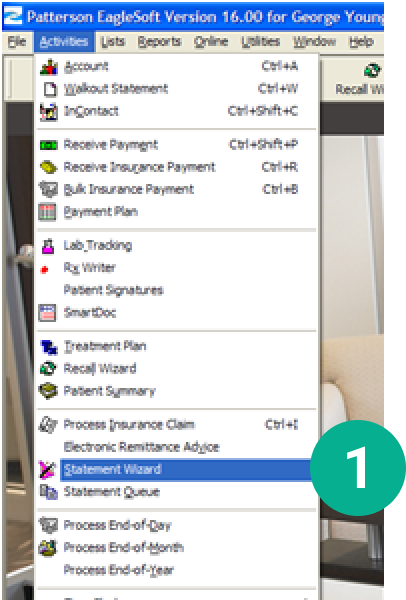
1. Access the Statement Queue through the Statement Wizard or via Activities > Statement Queue
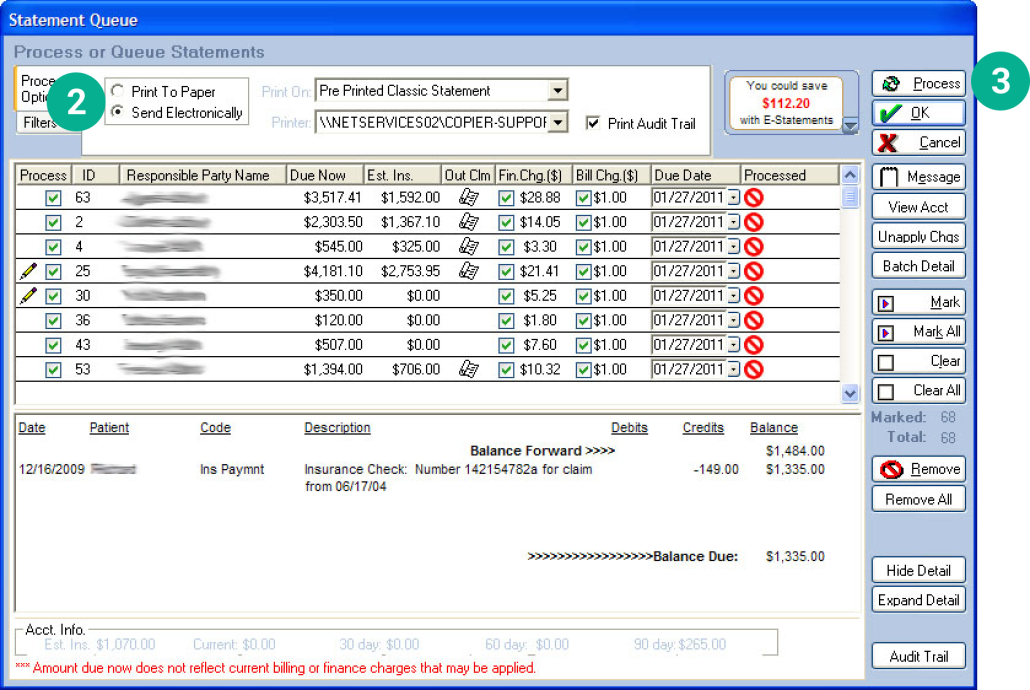
2. Checkmark the Statements you want to send, choose Send Electronically 3. Click Process. Your Billing Statements will then be sent for printing/mailing
For more details on the Statement Wizard, visit the Eaglesoft article.
STEP 4
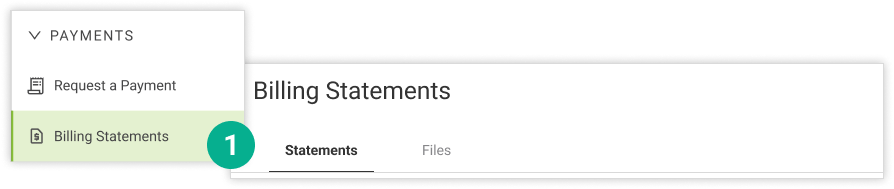
Open Vyne Trellis and click on Payments in the left sidebar
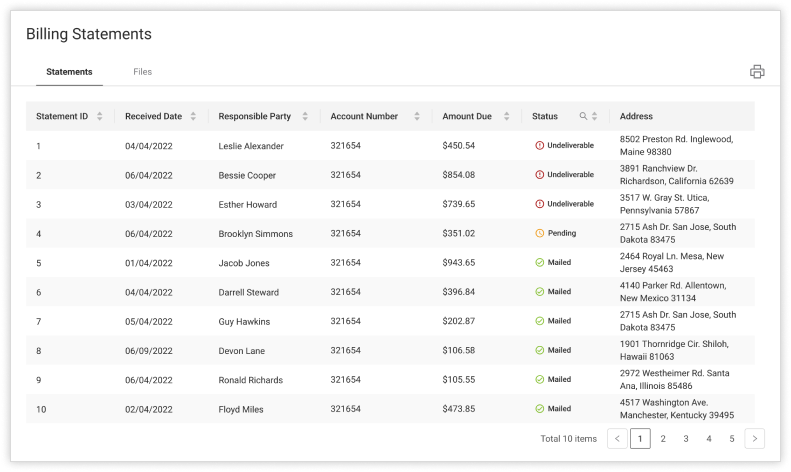
Click on “Billing Statements” to view all current Statement and Files.